Pool Pump Shaft Seal Leak Fix
Mechanical Seal Symptoms, Seal Plate Checks, and How to Stop Leaks Under the Motor
A pool pump that leaks near the motor is usually suffering from a failed shaft seal, also called a mechanical seal. This is not the same as a lid O ring leak or a loose union drip. A shaft seal leak happens at the point where the motor sha passes from the dry motor into the wet end of the pump. When the seal fails, water drips from the seal plate area, often down the underside of the pump, and it can eventually damage motor bearings, trip electrical protection, and lead to full motor failure. Fixing it early is cheaper and prevents secondary problems.
This guide explains the symptoms of a mechanical seal leak, the common causes, how to confirm the leak location, and what a proper shaft seal replacement involves.
Mechanical shaft seal leak symptoms under the pump

A mechanical seal leak usually shows as water dripping from beneath the pump near the motor end, not from the clear lid or the suction unions. You may see a steady drip while the pump is running, or you may see a wet patch on the equipment pad that reappears even after you dry it. In many cases, the leak is worse when the pump is running because the wet end is pressurised, and the leak may slow down when the pump is off.
A common related symptom is bearing noise. When a shaft seal leaks, water can migrate into the motor and damage bearings, creating whining, grinding, or rumbling sounds. Another symptom can be rust staining on the motor casing, corrosion around the motor flange, or a pump that begins tripping the breaker because moisture and heat are building up. If you have a leak and unusual noise together, treat it as urgent because the motor is at risk.
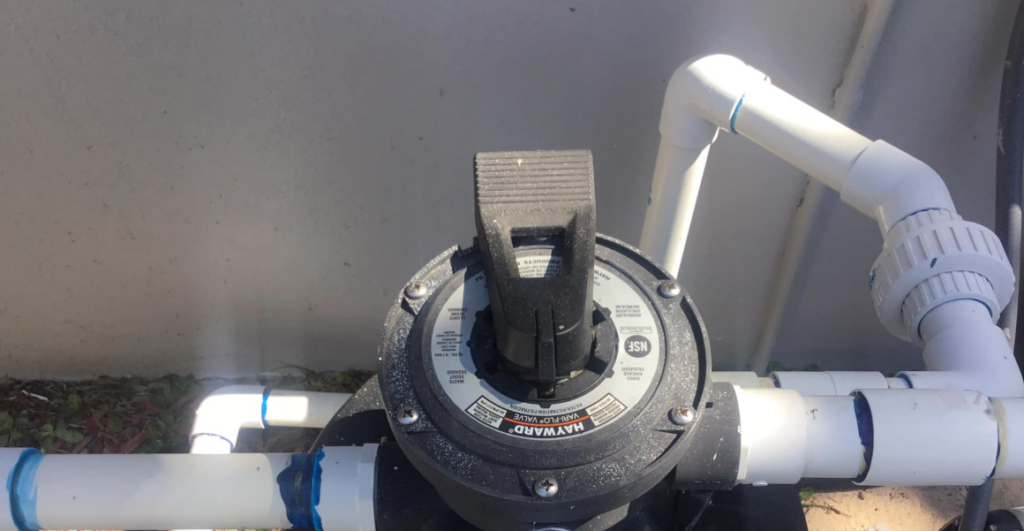
Seal plate, diffuser, and motor flange leak inspection
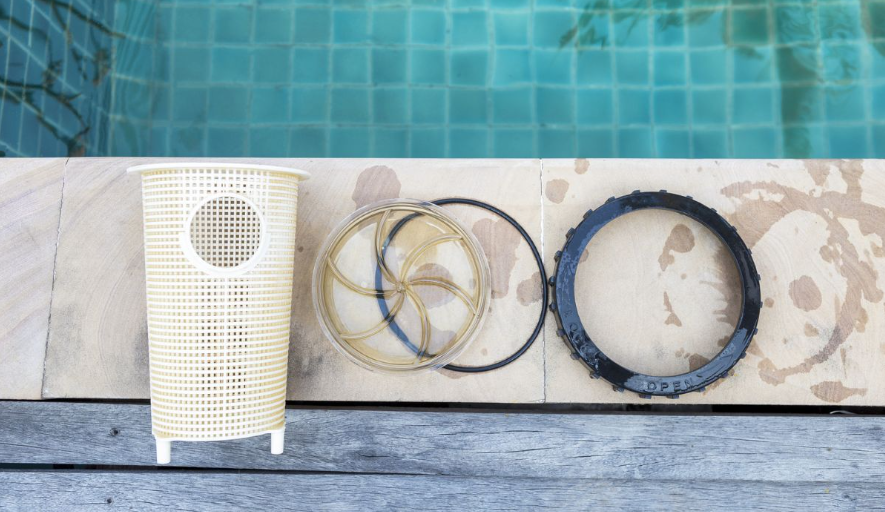
Before assuming the shaft seal is the problem, confirm where water is escaping. Dry the pump housing and equipment pad completely, then run the pump and watch carefully with a flashlight. If water appears at the lid area, the issue is likely the pump lid O ring or lid seating. If water appears at a union, the union O ring may be flattened or missing. If water appears from the split line between the wet end and the motor, the seal plate area is the likely source.
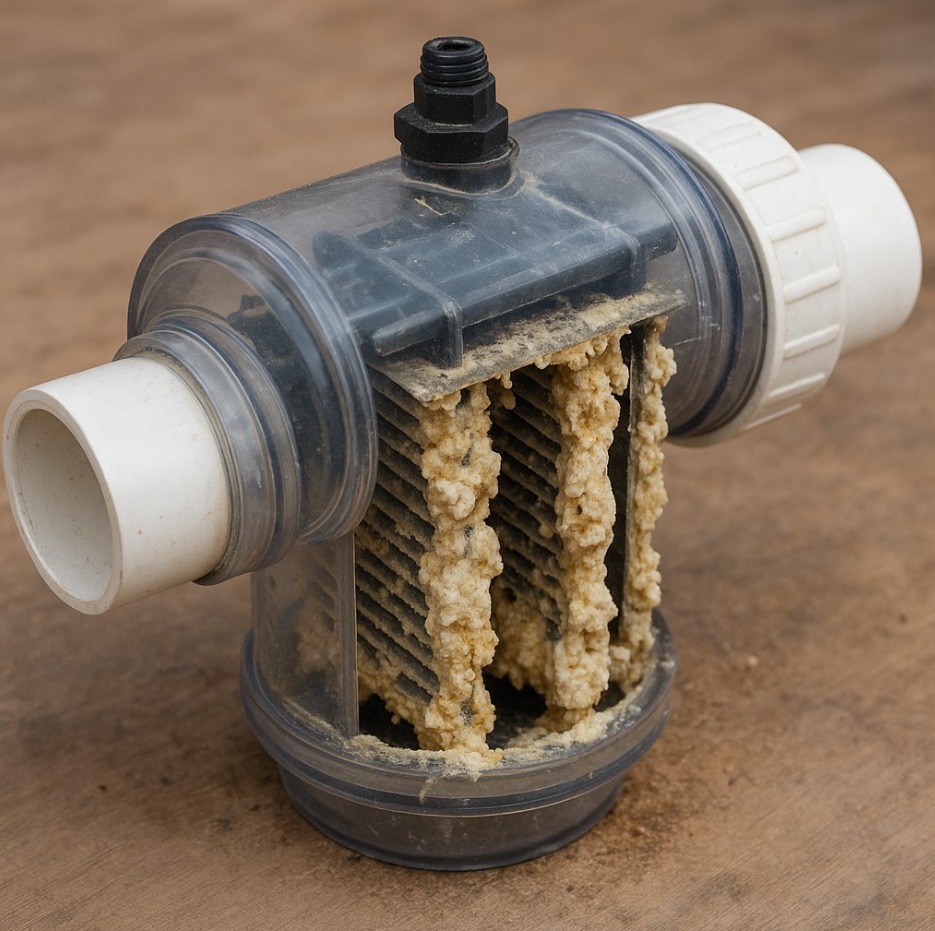
The seal plate is the part that interfaces with the motor and supports the seal assembly. A cracked seal plate can also cause leaks, though this is less common than seal failure. The diffuser and impeller area are also relevant because debris and heat here can damage seals. Inspection is about confirming the leak path so you replace the correct component.
Mechanical seal causes: running dry, heat, chemistry, and wear
The most common cause of shaft seal failure is running the pump dry. When a pump loses prime, the seal faces can overheat because they are designed to be cooled and lubricated by water. Even short dry running can score seal faces and cause leaks later.
Heat and strain also contribute. High filter pressure, clogged impellers, poor ventilation, and long run times under resistance increase temperature and accelerate seal wear. Water chemistry plays a role too. Very low pH can be aggressive to components, and high chlorine environments, especially in some salt water pool systems, can shorten seal life. Age and normal wear are also factors. A seal is a wear component and eventually needs replacement, especially in older pumps.
Shaft seal leak vs pump lid O ring leak vs union leak
This distinction saves me and money. A lid O ring leak happens at the clear lid, usually visible at the top of the pump basket. It often drips down the pump body and can look dramatc, but it originates at the lid seal. A union leak happens at pipe connections and usually leaves a wet ring around the union threads. A shaft seal leak originates behind the impeller, near the motor, and often shows as dripping underneath the motor end.
If you have bubbles in the pump basket but no water drip, you are dealing with an air leak rather than a water leak. Sha seals typically cause water loss, not suction air bubbles. Keeping these categories separate prevents misdiagnosis.
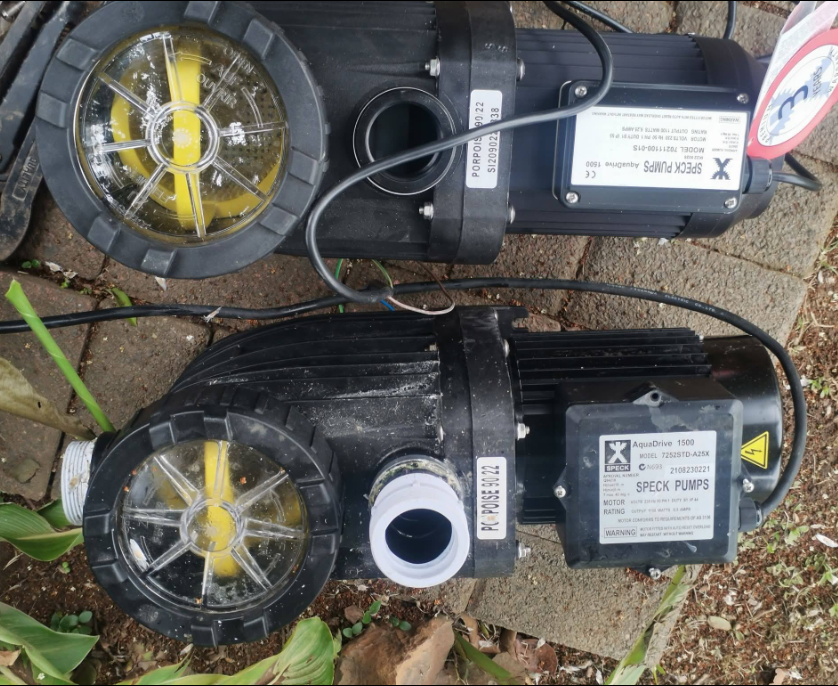
Mechanical shaft seal replacement overview: impeller, spring seal, ceramic seat
A proper shaft seal replacement is done by separating the motor from the wet end, removing the diffuser, removing the impeller, and replacing the two seal halves. Most mechanical seals have a spring loaded carbon face on the impeller side and a ceramic seat on the seal plate side. Both halves must be replaced together. Replacing only one half usually results in continued leaking because the faces will not mate properly.
Cleanliness matters. Finger oils and grit can damage the seal faces. The ceramic seat must be installed correctly and squarely. The spring seal must sit properly on the impeller. The diffuser and seal plate must be reassembled with good gaskets so there are no bypass leaks.
Seal plate gasket and O ring checks during shaft seal service
A shaft seal job is the best time to inspect other sealing surfaces. The seal plate gasket, diffuser gasket, housing O ring, and drain plug gaskets should be checked. A worn gasket can mimic a shaft seal leak or create new leaks after reassembly. Silicone lubricant should be used on O rings where appropriate, but seal faces should not be lubricated with grease. Keeping these rules clear prevents repeat leaks after a repair.
After repair: priming, pressure gauge baseline, and leak confirmation
After reassembly, the pump must be primed properly. Fill the pump basket housing with water, reseat the lid with a clean lubricated O ring, open the filter air relief valve, and start the pump. Allow air to purge until water flows steadily, then close the air relief. Watch the pump closely for leaks at the seal plate area and unions.
Once the system stabilises, note filter pressure and confirm return flow feels normal. If the pump previously ran under high pressure due to a dirty filter, backwash or clean the filter as well, because high resistance can shorten the life of the new seal.
Preventing future shaft seal leaks and motor bearing damage
Preventing seal failure comes down to preventing dry running and overheating. Maintain pool water level so the skimmer does not suck air. Keep the pump lid O ring clean and seated so the pump holds prime. Clean baskets regularly so debris does not clog the impeller. Clean the filter when pressure rises so the pump is not pushing against heavy resistance. Fix small drips early, because small seal leaks often become bearing failures when water reaches the motor.
If you have a salt chlorinator system, keep chemistry balanced and avoid extreme pH swings. Seal life improves when water balance is stable.
A shaft seal leak is one of the most important pump leaks to address because it threatens the motor itself. The symptoms usually show as dripping under the motor, wet equipment pads, corrosion, and somemes bearing noise. Correct repair involves replacing both halves of the mechanical seal, inspecting seal plate and diffuser gaskets, reassembling carefully, and confirming prime and leak free operation. When done early, it prevents bearing damage and extends the life of the pump motor.
FAQs
1. How much water loss is normal for a pool?
About 1/4 to 1/2 inch per day from evaporation is normal in warm weather.
2. Can small leaks cause big damage?
Yes. Even a small leak can cause soil erosion, deck damage, and equipment strain over time.
3. How long does leak repair take?
Minor repairs can take a few hours. Major repairs may take several days.
4. Will insurance cover pool leak repairs?
5. How often should I check for leaks?
Get in touch for expert pool care

Need help? we are always here to assist you with expert care
Need Help
+27 10 065 1995
E-mail us
info@poolquest.co.za